
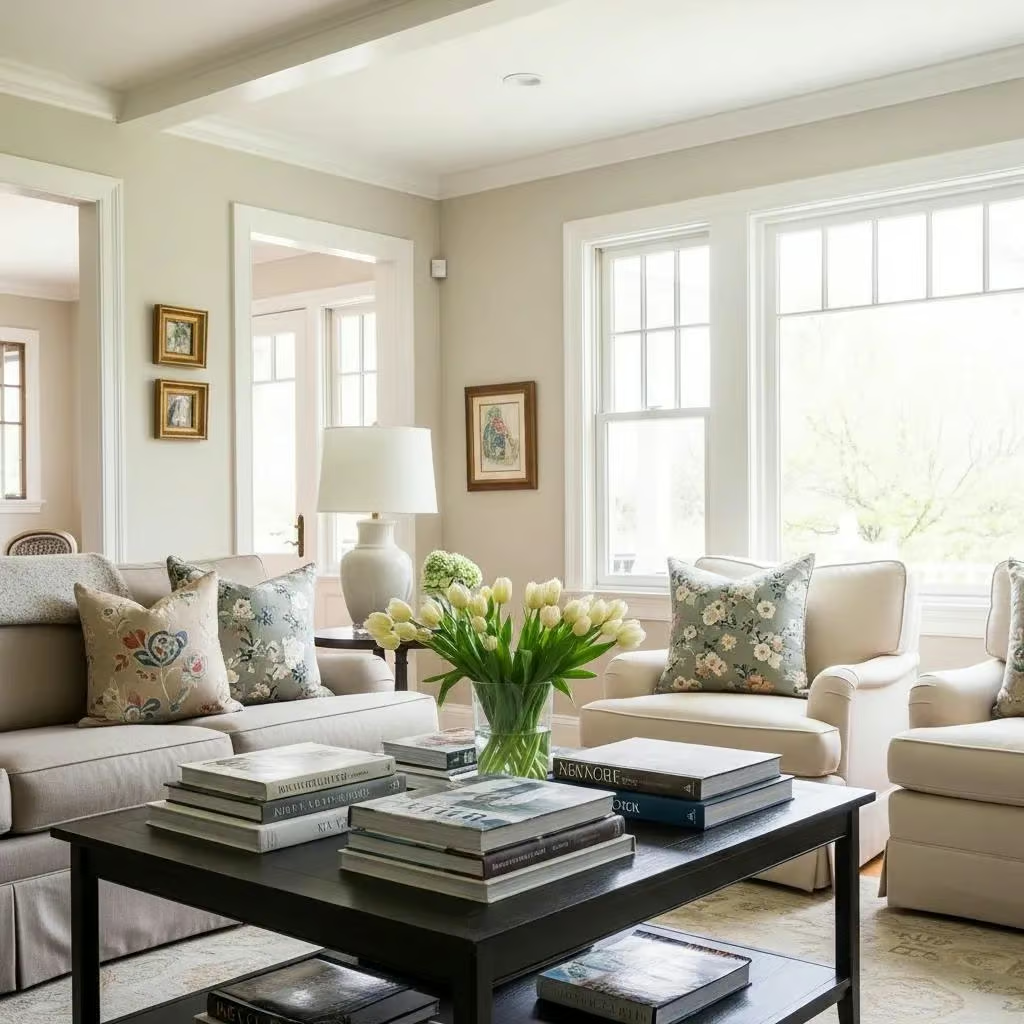
How to Paint a Living Room: Step-by-Step Guide
Painting a living room can transform the space, making it feel fresh and inviting. This comprehensive guide will walk you through the essential steps to achieve a professional-looking finish, from selecting the right colors to ensuring proper safety measures. Many homeowners find the task daunting, but with the right preparation and techniques, you can create a beautiful living area that reflects your style. In this article, we will cover the best paint colors and finishes, how to prepare your walls, the necessary tools and materials, effective painting techniques, and important safety tips. By the end, you’ll be equipped with the knowledge to tackle your living room painting project confidently.
What Are the Best Paint Colors and Finishes for Living Room Walls?
Choosing the right paint color and finish is crucial for setting the mood in your living room. Light colors can make a space feel larger and more open, while darker shades can create a cozy and intimate atmosphere. Popular choices include soft neutrals, calming blues, and vibrant accent colors that can highlight architectural features.
When it comes to finishes, satin and eggshell are often recommended for living rooms as they provide a nice balance between durability and aesthetic appeal. These finishes are easy to clean and can withstand the wear and tear of daily life. Additionally, consider the lighting in your room, as it can significantly affect how colors appear. Testing samples on your walls before making a final decision is always a good idea.
How to Prepare Living Room Walls Properly Before Painting?
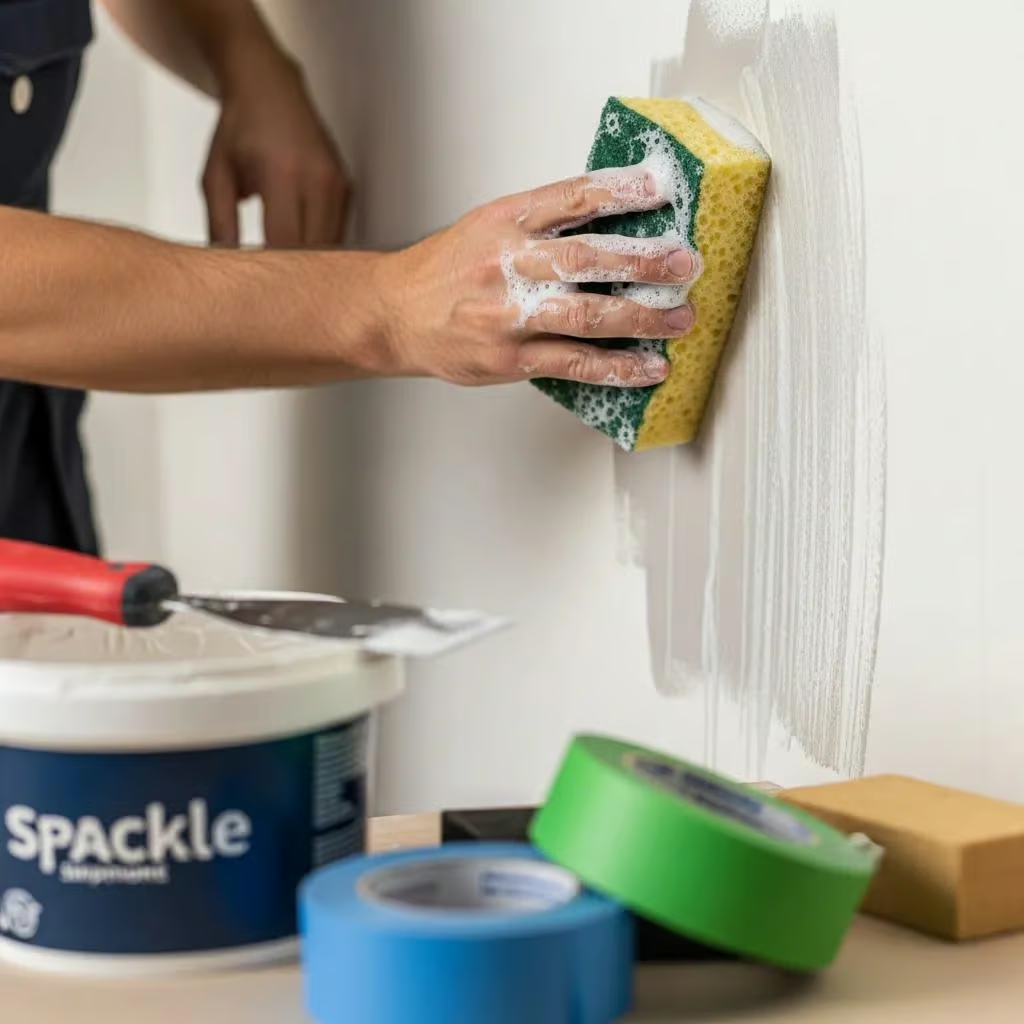
Proper wall preparation is essential for achieving a smooth and long-lasting paint job. Here are the key steps to follow:
- Clean the Walls: Remove dust, dirt, and grease from the walls using a mild detergent solution. This ensures that the paint adheres properly.
- Repair Imperfections: Fill any holes or cracks with spackle or joint compound. Sand the area smooth once it dries to create an even surface.
- Protect Surfaces: Use painter’s tape to mask off edges and protect trim, windows, and doors. Lay down drop cloths to catch any drips or spills.
- Prime the Walls: If you’re making a significant color change or painting over a glossy finish, applying a primer is recommended. This step enhances paint adhesion and ensures true color representation.
For those who prefer a professional touch, local painting contractors offer expert services in home improvement, including wall preparation and painting. Their experience can save you time and ensure a flawless finish.
Which Tools and Materials Are Needed for Painting Living Room Walls?
Having the right tools and materials is vital for a successful painting project. Here’s a list of essential items you’ll need:
- Paint: Choose high-quality interior paint suitable for your chosen finish.
- Primer: A good primer helps with adhesion and coverage.
- Paintbrushes: Use angled brushes for cutting in around edges and corners.
- Rollers: A roller with a medium nap is ideal for smooth walls.
- Paint Tray: A tray makes it easy to load your roller with paint.
- Drop Cloths: Protect your floors and furniture from paint splatters.
- Painter’s Tape: Use this to mask off areas you don’t want to paint.
- Ladder: A sturdy ladder is necessary for reaching high areas.
Different tools can impact the quality of your paint job. For example, using a roller with a thicker nap can help cover textured surfaces more effectively.
This table summarizes the essential tools and their recommended types for optimal results.
What Are the Best Techniques for Painting Living Room Ceilings, Walls, and Trim?

Effective painting techniques can make a significant difference in the final appearance of your living room. Here are some best practices:
- Cutting In: Start by using a brush to paint the edges around windows, doors, and corners. This technique, known as “cutting in,” creates a clean line and prevents roller marks.
- Rolling: Use a roller to apply paint to the larger wall areas. Work in sections, rolling in a W pattern to ensure even coverage.
- Multiple Coats: Depending on the color and type of paint, you may need to apply multiple coats. Allow adequate drying time between coats for the best results.
- Painting Trim: For trim and moldings, use a smaller brush for precision. A semi-gloss finish is often recommended for trim as it adds a nice contrast and is easier to clean.
Avoid common mistakes such as overloading your brush or roller with paint, which can lead to drips and uneven coverage.
How to Ensure Safety, Cleanup, and Proper Drying When Painting a Living Room?
Safety should always be a priority when painting. Here are some essential tips:
- Ventilation: Ensure the room is well-ventilated by opening windows and using fans to circulate air. This helps reduce fumes and speeds up drying time.
- Protective Gear: Wear gloves, goggles, and a mask to protect yourself from paint splatters and fumes.
- Cleanup: Clean brushes and rollers immediately after use to prolong their life. Dispose of any leftover paint according to local regulations.
- Drying Time: Allow sufficient drying time between coats and before moving furniture back into the room. This can vary based on the type of paint used, so always check the manufacturer’s recommendations.
By following these safety and cleanup tips, you can ensure a smooth painting process and a beautiful finish in your living room.


