
Interior Painting FAQs: Your Top Questions Answered for Effective Home Improvement
Interior painting can transform a space, enhancing both its aesthetic appeal and value. However, many homeowners have questions about the process, from preparation to execution. This article addresses common interior painting questions and provides valuable insights to help you navigate your painting project effectively. By understanding the essential steps, paint types, costs, and techniques, you can achieve a professional-looking finish that revitalizes your home. We will cover topics such as preparation steps, paint types and finishes, cost considerations, painting techniques, drying times, and the feasibility of painting over wallpaper.
What Are the Essential Steps for Interior Paint Preparation?
Proper preparation is crucial for achieving a flawless paint job. The essential steps for interior paint preparation include cleaning surfaces, protecting areas not to be painted, and applying primer before painting. These steps ensure that the paint adheres well and provides a smooth finish.
How Do You Properly Clean and Repair Walls Before Painting?
Cleaning and repairing walls is a vital step in the preparation process. Start by scrubbing surfaces to remove dirt, grease, and dust. Use a mild detergent mixed with water for effective cleaning. After cleaning, inspect the walls for any imperfections. Fill holes and cracks with appropriate materials, such as spackling paste or joint compound, and sand the repaired areas smooth once dry. This thorough cleaning and repair process sets the foundation for a successful paint application.
What Tools Are Needed for Effective Interior Paint Preparation?
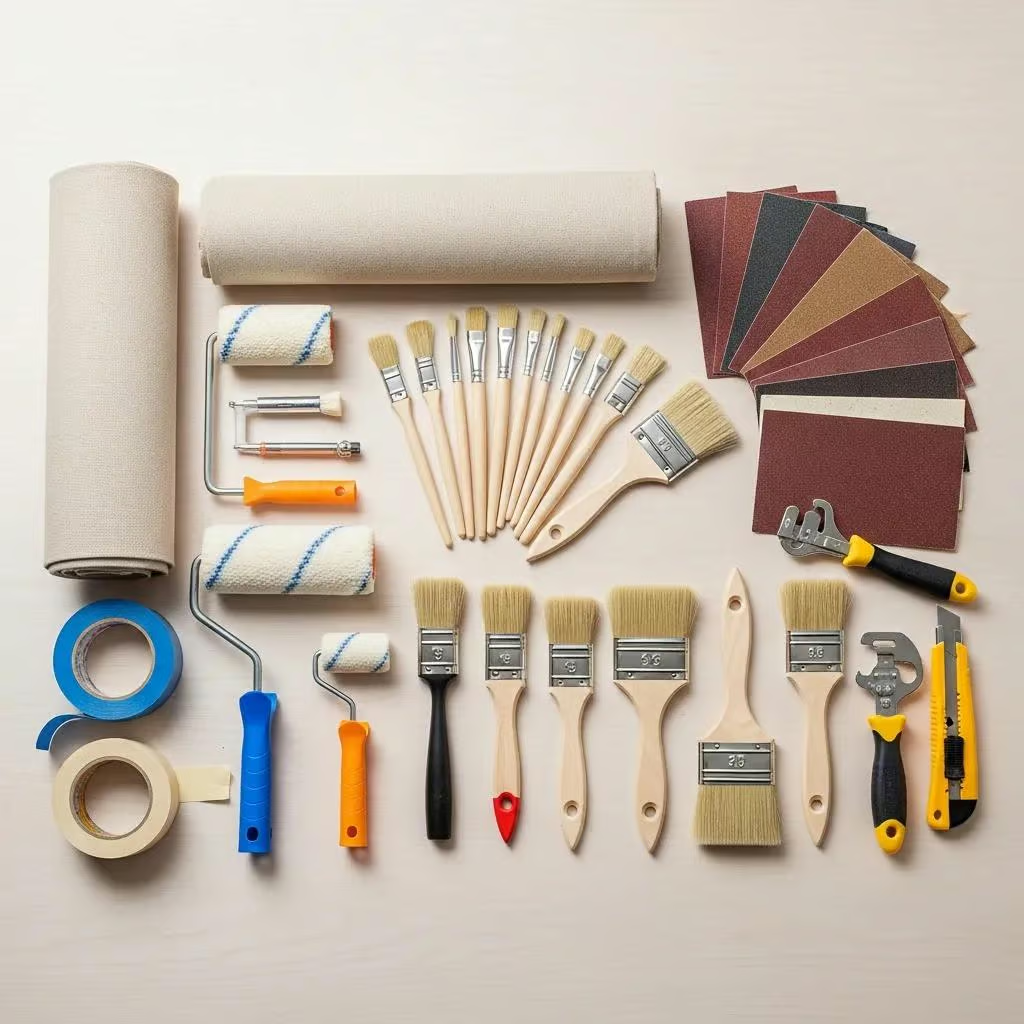
Having the right tools is essential for effective interior paint preparation. Key tools include:
- Paintbrushes: For cutting in and detailed work.
- Rollers: For covering large areas quickly.
- Drop Cloths: To protect floors and furniture from paint splatters.
- Painter’s Tape: To mask off edges and create clean lines.
- Sandpaper: For smoothing surfaces and repairs.
- Primer: To ensure better paint adhesion and coverage.
These tools will help streamline the preparation process and contribute to a professional finish.
Which Interior Paint Types and Finishes Are Best for Different Rooms?
Choosing the right paint type and finish is essential for different rooms in your home. Various paint types, such as latex and oil-based paints, offer distinct advantages depending on the application.
What Are the Differences Between Latex and Oil-Based Paints?
Latex paints are water-based, making them easy to clean up with soap and water. They dry quickly and have low levels of volatile organic compounds (VOCs), making them a healthier choice for indoor air quality. In contrast, oil-based paints provide a durable finish and are ideal for high-traffic areas, but they require solvents for cleanup and have longer drying times. Understanding these differences helps homeowners select the best paint type for their specific needs.
Research further highlights the performance distinctions and environmental considerations between these two paint types.
Water-Based vs. Oil-Based Paints: Performance & VOCs
Because oil- or solvent-based coatings (e.g.paints, varnishes, sealants) emit volatile organic compounds (VOCs), replacement with aqueous coating formulations is desirable. However, water-based (latex) coatings which are dispersions of polymer particles, are out-performed by solvent-based coatings in hardness, durability, gloss and cold-weather application. The challenge with latexes is that discrete polymer particles must coalesce to form a complete film, a complex process that often leads to imperfections in the coating.
Water-borne coatings that share the mechanism of action of oil-based coatings, 2018
How Do Matte, Satin, and Gloss Finishes Affect Room Appearance and Durability?
The finish of the paint significantly impacts both the appearance and durability of the painted surface. Matte finishes offer a non-reflective look, ideal for hiding imperfections, but they are less durable and harder to clean. Satin finishes provide a soft sheen, making them suitable for moderate-traffic areas, while gloss finishes are highly reflective and durable, perfect for trim and high-moisture areas like kitchens and bathrooms. Selecting the right finish can enhance the overall aesthetic and longevity of the paint job.
How Much Does It Cost to Paint Interior Rooms?
Understanding the costs associated with interior painting is crucial for budgeting effectively. The overall cost can vary based on several factors, including room size, paint quality, and labor costs.
What Factors Influence Interior Painting Costs?
Several factors influence the cost of interior painting:
- Room Size: Larger rooms require more paint and time, increasing costs.
- Paint Quality: Higher-quality paints may have a higher upfront cost but can save money in the long run due to better coverage and durability.
- Labor Costs: Hiring professional painters can significantly impact the overall budget, depending on their rates and the complexity of the job.
These factors should be considered when planning your painting project to ensure a realistic budget.
How Can Homeowners Budget Effectively for Interior Painting Projects?
To budget effectively for interior painting projects, homeowners should:
- Set a Realistic Budget: Determine how much you are willing to spend on materials and labor.
- Research Materials and Labor Costs: Get quotes from multiple suppliers and contractors to compare prices.
- Account for Additional Expenses: Include costs for tools, primer, and any necessary repairs in your budget.
By following these steps, homeowners can manage their painting projects without overspending.
What Are the Best Techniques and Tools for Painting Interior Walls?
Using the right techniques and tools can make a significant difference in the quality of your paint job. Understanding how to use brushes, rollers, and sprayers effectively is essential for achieving optimal results.
How Do You Use Brushes, Rollers, and Sprayers for Optimal Results?
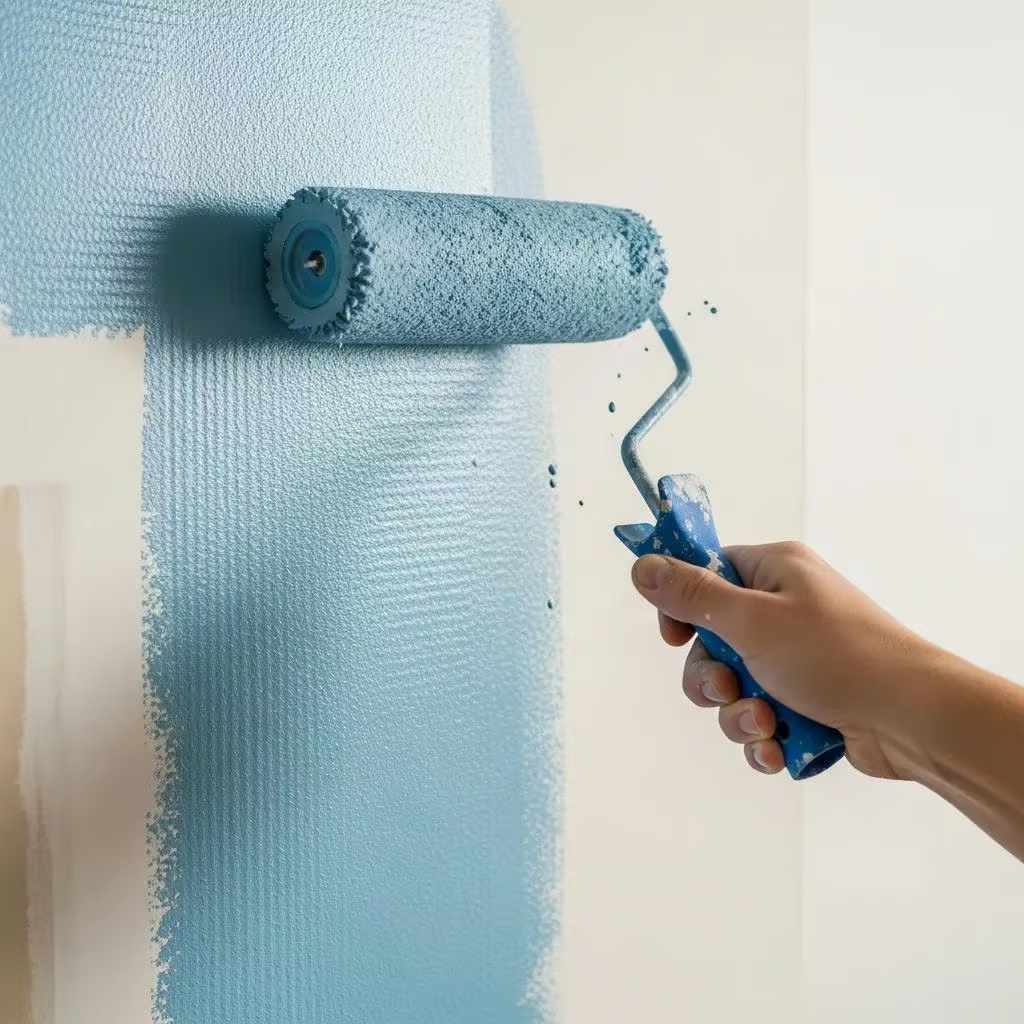
When painting, each tool has its specific use:
- Brushes: Ideal for cutting in around edges and corners, providing precision.
- Rollers: Best for covering large wall areas quickly and evenly.
- Sprayers: Useful for achieving a smooth finish on textured surfaces or large areas, but they require more preparation and cleanup.
Using these tools correctly can enhance the efficiency and quality of your painting project.
What Are Common Painting Mistakes and How Can They Be Avoided?
Common painting mistakes can lead to unsatisfactory results. To avoid these pitfalls:
- Skipping Preparation: Always clean and repair surfaces before painting.
- Using the Wrong Tools: Ensure you have the appropriate tools for the job.
- Rushing the Process: Take your time to allow for proper drying and curing between coats.
By being mindful of these common mistakes, homeowners can achieve a more professional-looking finish.
How Long Does Interior Paint Take to Dry and Cure?
Understanding drying and curing times is essential for planning room use after painting. Different factors can affect how long paint takes to dry and cure.
What Factors Affect Drying and Curing Times?
Several factors influence drying and curing times, including:
- Humidity Levels: High humidity can slow down drying times.
- Temperature: Warmer temperatures generally speed up the drying process.
- Paint Type: Different paints have varying drying times, with oil-based paints typically taking longer than latex.
Being aware of these factors can help homeowners plan their painting projects more effectively.
How Should You Plan Room Use Around Paint Drying Times?
To plan room use around paint drying times, consider the following:
- Allow Adequate Drying Time: Follow the manufacturer’s recommendations for drying times before using the room.
- Ventilation: Ensure proper ventilation to speed up drying and reduce odors.
- Avoid Heavy Traffic: Keep the area free from foot traffic until the paint is fully cured to prevent damage.
By planning accordingly, homeowners can minimize disruptions during the painting process.
Can You Paint Over Wallpaper and When Is It Advisable?
Painting over wallpaper can be a viable option, but it requires careful consideration and preparation.
What Preparations Are Needed Before Painting Over Wallpaper?
Before painting over wallpaper, homeowners should:
- Clean the Wallpaper: Remove any dust or grease to ensure proper adhesion.
- Repair Any Damage: Fix any tears or bubbles in the wallpaper to create a smooth surface.
- Prime the Surface: Apply a primer designed for wallpaper to enhance paint adhesion.
These preparations are crucial for achieving a successful paint job over wallpaper.
When Is Wallpaper Removal a Better Option?
In some cases, removing wallpaper may be a better option than painting over it. Consider removal if:
- The Wallpaper Is Damaged: If the wallpaper is peeling or torn, removal is necessary for a clean finish.
- You Want a Fresh Start: Removing wallpaper allows for a completely new look and the opportunity to repair any underlying wall issues.
- The Wallpaper Is Textured: Textured wallpaper can create an uneven surface that is difficult to paint over effectively.
Evaluating these factors can help homeowners make the best decision for their painting project.


