
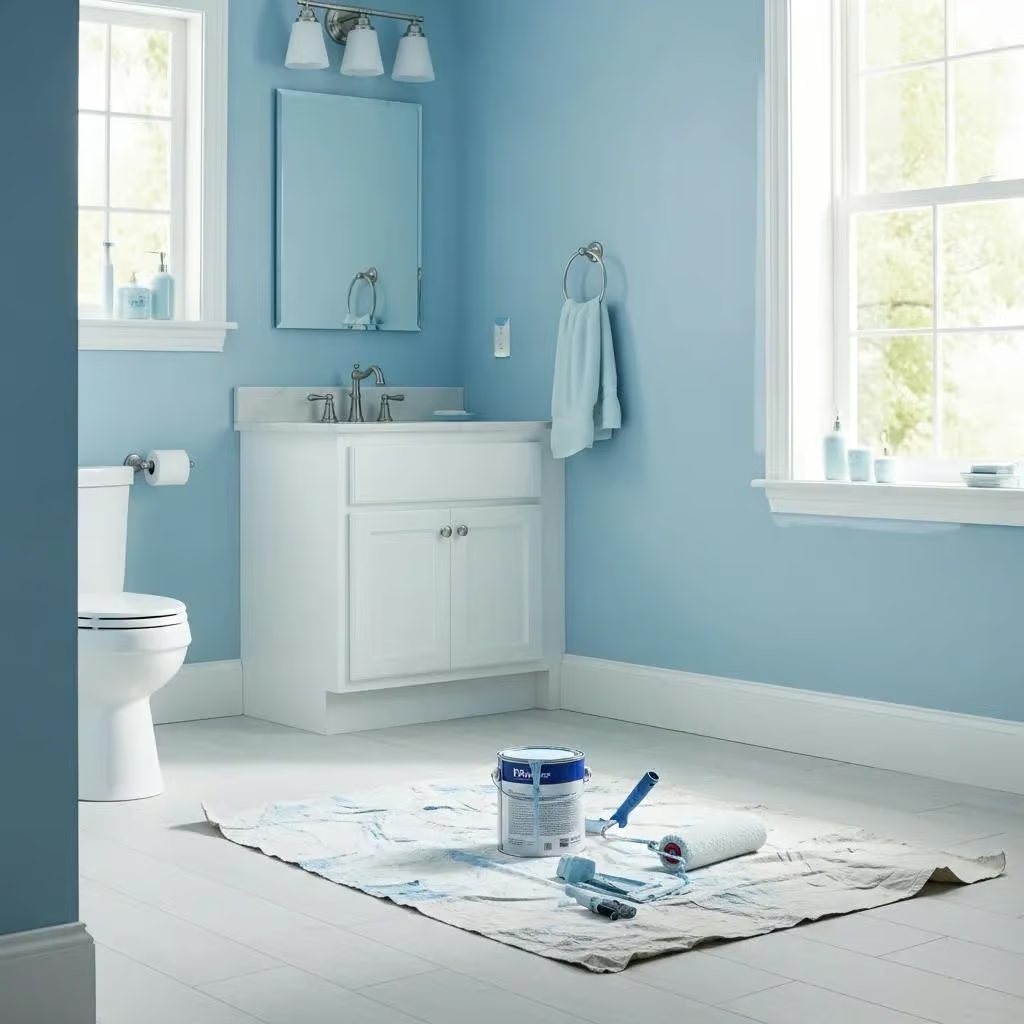
How to Paint a Bathroom: Step-by-Step Guide
Painting a bathroom can transform the space, making it feel fresh and inviting. This comprehensive guide will walk you through the essential steps to successfully paint your bathroom, ensuring a professional finish that lasts. You will learn about the necessary preparation, the best paint types and finishes, and the techniques for applying paint effectively. Many homeowners struggle with achieving a smooth, durable finish in high-moisture areas like bathrooms. By following this guide, you can avoid common pitfalls and create a beautiful, long-lasting result. We will cover the essential preparation steps, the best paint types, step-by-step techniques, drying times, color ideas, and how bathroom painting relates to overall home maintenance.
What Are the Essential Bathroom Paint Preparation Steps?
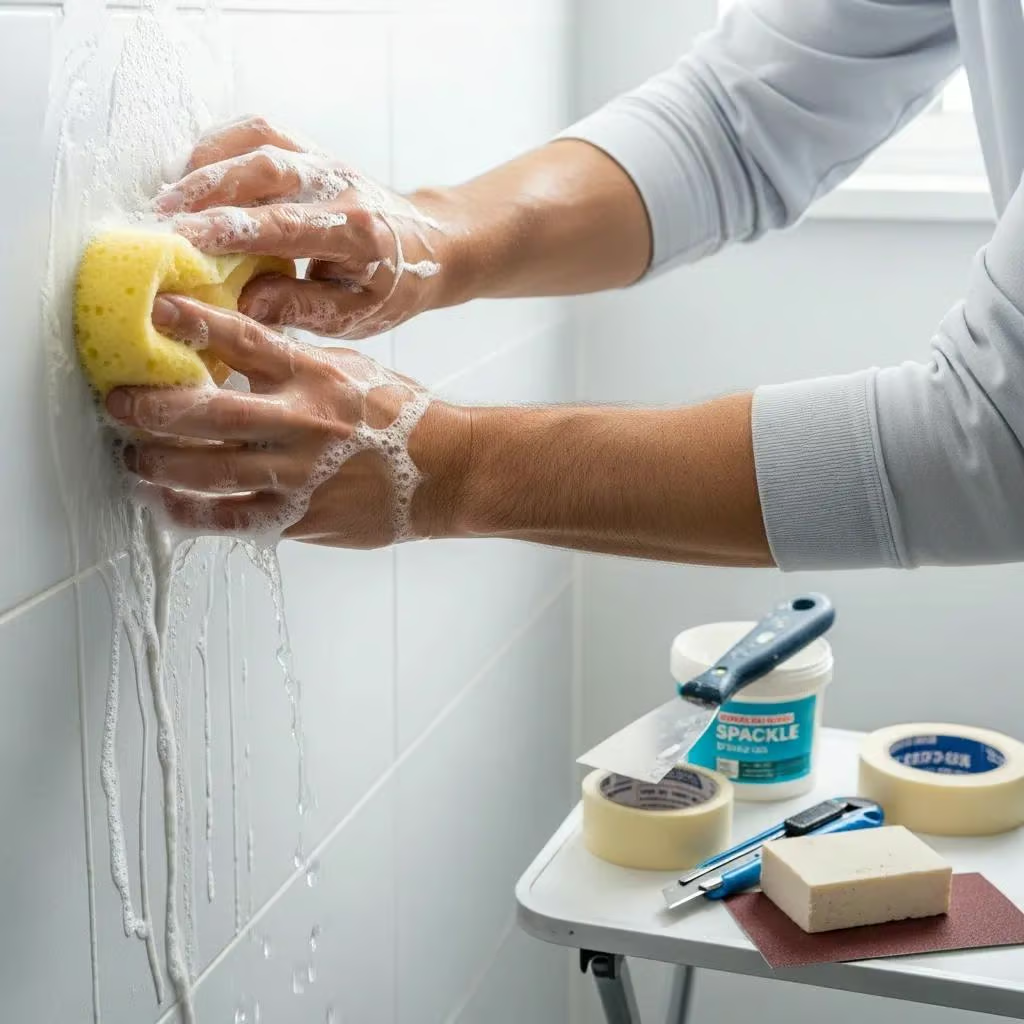
Preparation is crucial for a successful bathroom painting project. Properly preparing the surfaces ensures that the paint adheres well and lasts longer. The essential steps include cleaning the surfaces, protecting areas that should not be painted, and applying primer before painting.
How to Clean and Prepare Bathroom Walls for Painting
To clean and prepare bathroom walls for painting, start by removing any dust, dirt, or mildew. Use a mixture of water and mild detergent to scrub the walls thoroughly. Pay special attention to corners and areas around fixtures. After cleaning, fill any holes or cracks with spackle or caulk, and sand the surface smooth once dry. This step is vital for achieving a flawless finish.
Experts consistently highlight that thorough surface preparation is paramount for ensuring optimal paint adhesion and a lasting finish.
Essential Surface Preparation for Paint Adhesion
surface preparation that must be taken to ensure the proper bonding of paint to the wood as well as bonding of the new paint to the old paint. Too much time is put into removing paint, but not enough time is put into surface preparation or into selecting the proper paint.
Paint selection and maintenance, 1993
What Tools and Materials Are Needed for Surface Preparation?
For effective surface preparation, gather the following tools and materials:
- Cleaning Supplies: Mild detergent, sponge, and bucket for washing walls.
- Repair Materials: Spackle or caulk for filling holes, sandpaper for smoothing surfaces.
- Protective Gear: Drop cloths to protect floors and painter’s tape to mask off edges and fixtures.
Having the right tools will streamline the preparation process and lead to better results.
Which Paint Types and Finishes Are Best for Bathroom Walls?
Choosing the right paint type and finish is essential for durability and aesthetics in a bathroom. Moisture-resistant and mold-resistant paints are highly recommended for these environments. They help prevent mold growth and maintain the paint’s integrity over time.
What Are the Benefits of Moisture-Resistant and Mold-Resistant Paints?
Moisture-resistant paints are designed to withstand the high humidity levels typical in bathrooms. They provide several benefits:
- Mold Prevention: These paints contain additives that inhibit mold growth, keeping your bathroom healthier.
- Durability: They are formulated to resist peeling and fading, ensuring a long-lasting finish.
- Easy Cleaning: Moisture-resistant paints are often washable, making it easier to maintain a clean surface.
Specialized coatings, such as those based on polyurethane, offer advanced solutions for superior moisture protection in challenging environments.
Polyurethane Coatings for Bathroom Moisture Resistance
Polyurethane-based moisture-resistant sprays have gained significant attention due to their outstanding barrier properties, flexibility, and durability. These coatings provide excellent protection against water ingress, making them ideal for various industrial and consumer applications. This paper explores the chemical composition, synthesis methods, and performance characteristics of polyurethane coatings designed for moisture resistance.
POLYURETHANE-BASED MOISTURE-RESISTANT SPRAY, 2025
How to Choose Between Semi-Gloss, Satin, and Other Bathroom Paint Finishes
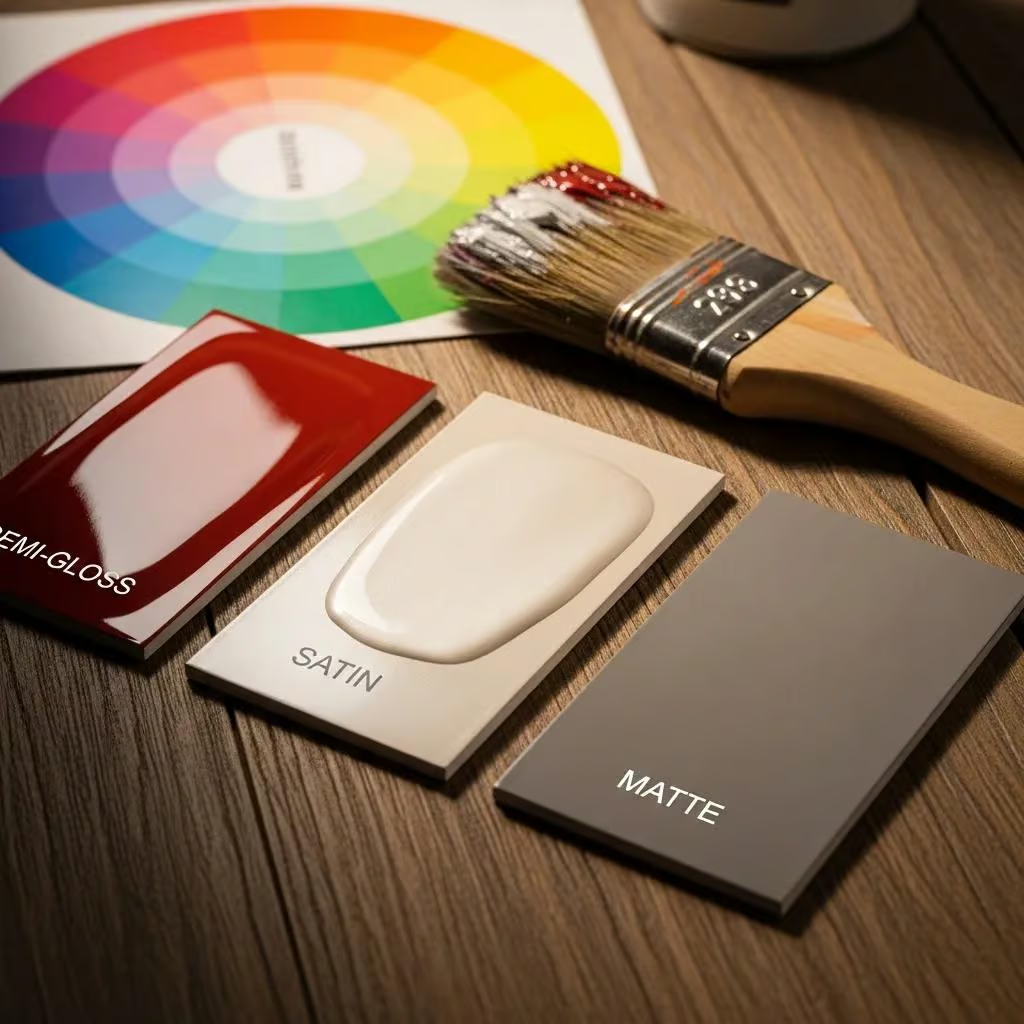
When selecting a finish for bathroom walls, consider the following options:
- Semi-Gloss: Offers a shiny finish that is easy to clean and highly durable, making it ideal for high-moisture areas.
- Satin: Provides a soft sheen that is also washable, suitable for walls that may not require the high durability of semi-gloss.
- Matte: While it offers a sophisticated look, it is less durable and harder to clean, making it less suitable for bathrooms.
Further insights emphasize the importance of selecting appropriate paint finishes, especially for high-humidity environments like bathrooms.
Choosing Paint Finishes for High-Humidity Bathrooms
For example, areas with high humidity require coatings that are resistant to moisture and mildew. The paints you select meet environmental regulations for your area. Paints come in a variety of finishes, including flat, satin, semi-gloss, and high-gloss, each offering different levels of durability and washability.
Proper painting and surface preparation, 1986
Choosing the right finish can enhance both the appearance and functionality of your bathroom.
What Are the Step-by-Step Techniques for Painting Bathroom Walls, Trim, and Ceiling?
Once the preparation is complete, it’s time to paint. Following a systematic approach will help achieve a professional-looking finish.
How to Apply Primer and Paint for Durable Bathroom Walls
Start by applying a high-quality primer to the walls. This step is crucial for ensuring that the paint adheres properly and provides an even base. Use a roller for large areas and a brush for corners and edges. After the primer dries, apply the first coat of paint using the same technique. Allow it to dry completely before applying a second coat for optimal coverage.
What Are the Best Practices for Painting Bathroom Trim and Ceiling?
When painting trim and ceilings, use a brush for precision. Start with the ceiling, using a roller for larger areas and a brush for edges. For trim, tape off areas to prevent paint from getting onto the walls. Apply two coats of paint for a clean, finished look. Always allow adequate drying time between coats to ensure a smooth application.
How Long Does Bathroom Paint Take to Dry and What Ventilation Is Required?
Understanding drying times and ventilation needs is essential for a successful painting project. Proper ventilation helps paint dry evenly and reduces the risk of mold growth.
What Is the Recommended Drying Time for Bathroom Paints?
Typically, bathroom paints take about 1-2 hours to dry to the touch and 24 hours for a full cure. However, drying times can vary based on humidity and temperature. Always check the manufacturer’s instructions for specific drying times.
How to Ensure Proper Ventilation to Prevent Mold During and After Painting
To ensure proper ventilation, open windows and use fans to circulate air while painting. After painting, keep the bathroom well-ventilated for at least 48 hours to allow the paint to cure properly. This practice helps prevent moisture buildup and mold growth.
What Are Effective Bathroom Paint Color Ideas and Maintenance Tips?
Choosing the right color can significantly impact the feel of your bathroom. Light colors can make a small space feel larger, while darker shades can create a cozy atmosphere.
Which Bathroom Paint Colors Enhance Space and Light?
Consider these color ideas to enhance space and light in your bathroom:
- Soft Whites: Create a clean, airy feel that reflects light.
- Pale Blues: Evoke a calming atmosphere reminiscent of water.
- Light Grays: Offer a modern touch while maintaining brightness.
How to Maintain Painted Bathroom Walls for Longevity and Mold Prevention
To maintain painted bathroom walls, regularly clean them with a mild detergent and water. Avoid harsh chemicals that can damage the paint. Additionally, ensure proper ventilation to minimize moisture buildup, which can lead to mold growth.
How Does Bathroom Painting Relate to Overall Home Maintenance and Roofing Services?
Understanding the connection between bathroom painting and overall home maintenance is essential for homeowners. Coordinating these efforts can enhance the longevity of both interior and exterior elements.
Why Is Coordinating Bathroom Painting with Roofing and Ventilation Important?
Coordinating bathroom painting with roofing and ventilation is crucial to prevent moisture issues. Proper ventilation helps reduce humidity levels, which can affect both the paint and the roof. Ensuring that your bathroom is well-ventilated can prevent mold growth and extend the life of your roofing materials.
How to Request a Roofing Consultation to Complement Interior Maintenance
If you’re considering a roofing consultation, contact a specialized service provider. They can assess your roofing needs and provide recommendations that complement your interior maintenance efforts. This holistic approach ensures that both your bathroom and roof are well-maintained, enhancing your home’s overall value.


