
How to Paint a Kitchen: Step-by-Step Guide
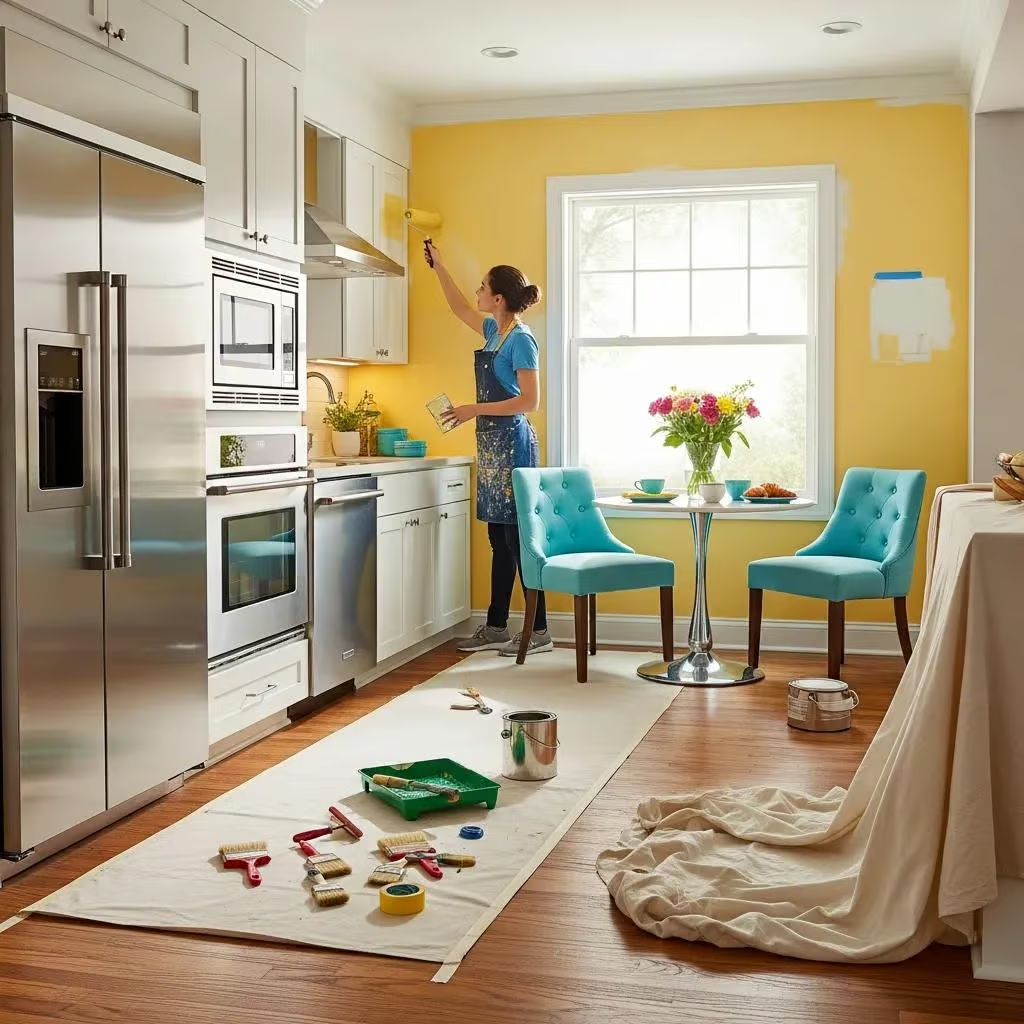
Painting your kitchen can transform the space, making it feel fresh and inviting. This comprehensive guide will walk you through the essential steps and techniques needed to achieve a professional-looking finish. Whether you’re looking to update your kitchen’s color scheme or simply refresh the existing paint, understanding the process is key. Many homeowners struggle with the intricacies of painting, from selecting the right materials to executing the painting technique effectively. This guide will address these challenges, providing you with a clear roadmap to successfully paint your kitchen. We will cover the necessary tools and materials, preparation steps, the painting process, and tips for achieving lasting results.
What Are the Essential Tools and Materials Needed for Kitchen Painting?
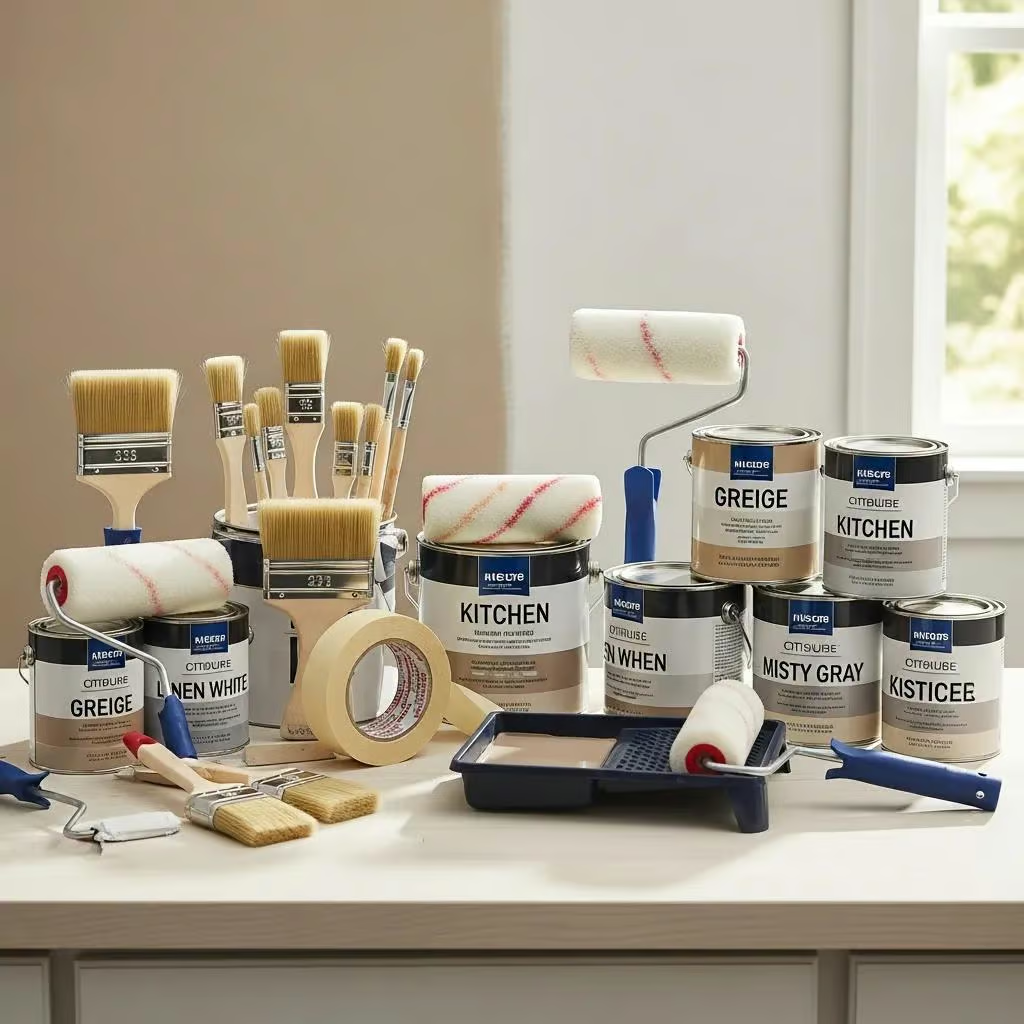
To achieve a successful kitchen painting project, having the right tools and materials is crucial. The essential items include brushes, rollers, painter’s tape, drop cloths, and high-quality paint. Each tool serves a specific purpose, ensuring that the paint application is smooth and even. Additionally, selecting the right type of paint is vital for durability and finish.
Which Painting Tools Ensure Professional Kitchen Wall Coverage?
When it comes to painting tools, quality matters. Here are some essential tools that can help you achieve professional results:
- Paintbrushes: A variety of sizes is necessary for cutting in around edges and corners. A 2- to 3-inch angled brush is ideal for trim and detailed work.
- Rollers: A roller with a medium nap (3/8 to 1/2 inch) is perfect for smooth walls, while a thicker nap is better for textured surfaces.
- Painter’s Tape: This helps create clean lines and protects areas you don’t want to paint, such as trim and cabinets.
Using high-quality tools can significantly impact the final look of your kitchen walls, making the investment worthwhile.
What Types of Paint and Finishes Are Best for Kitchen Walls?
Choosing the right paint type and finish is essential for a kitchen environment. Here are some recommendations:
- Acrylic Latex Paint: This is a popular choice due to its durability and ease of cleaning. It also has low VOC levels, making it safer for indoor use.
- Eggshell or Satin Finish: These finishes are ideal for kitchens as they offer a slight sheen, making them easier to clean while still hiding imperfections.
- Eco-Friendly Options: If you’re concerned about environmental impact, look for paints labeled as low-VOC or zero-VOC, which are safer for both your health and the planet.
Selecting the right paint ensures that your kitchen not only looks great but also withstands the wear and tear of daily use.
Further emphasizing the importance of sustainable choices, research highlights the benefits of non-VOC paints for both indoor air quality and environmental sustainability.
Non-VOC Paints: Enhancing Kitchen Air Quality & Durability
Non-volatile organic compound (non-VOC) paints, characterized by minimal or zero emissions of volatile organic compounds, have emerged as a cornerstone of sustainable construction practices, particularly in the development of green buildings. These environmentally friendly coatings contribute to improved indoor air quality (IAQ), reduced environmental impact, and enhanced occupant health, aligning with the principles of sustainable architecture. This paper provides a comprehensive analysis of the role of non-VOC paints in green buildings, exploring their chemical composition, manufacturing processes, performance characteristics, and socio-economic benefits. Through a mixed-methods approach, including experimental data analysis, life cycle assessments (LCA), and case studies, this study evaluates the efficacy of non-VOC paints in reducing indoor pollutants, their durability compared to conventional paints, and their contribution to achieving green building certifications
The Role of Non-Volatile Organic Compound Paints in Green Buildings for a Sustainable Environment, A Jain, 2026
How to Prepare Kitchen Walls Properly Before Painting?
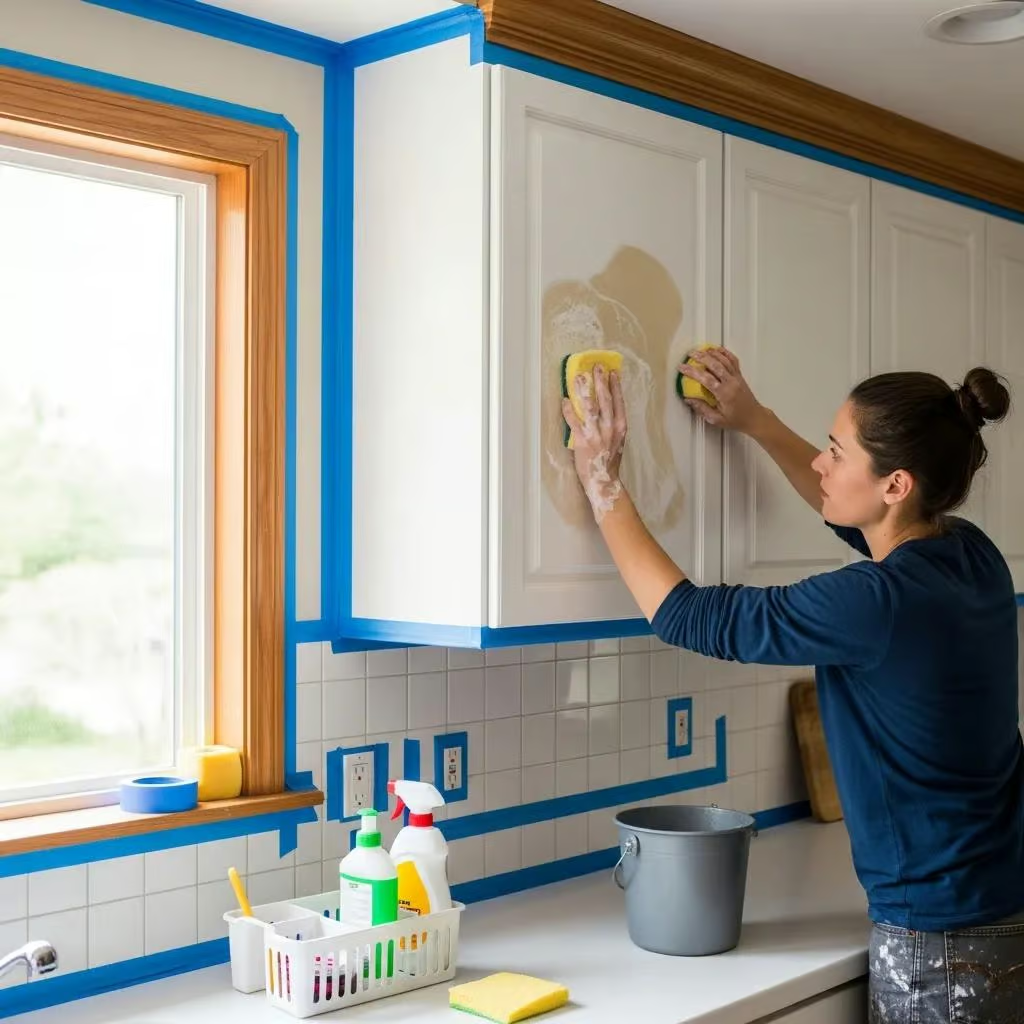
Proper preparation is key to a successful paint job. This involves cleaning the walls, repairing any damage, and priming the surface if necessary.
- Cleaning the Walls: Start by washing the walls with a mild detergent to remove grease and dirt. This step is crucial in kitchens where cooking can leave residues.
- Taping and Protecting Surfaces: Use painter’s tape to protect edges and surfaces that you do not want to paint. This will help achieve clean lines and prevent paint from bleeding onto trim or cabinets.
- Priming the Walls: If you’re making a significant color change or painting over a glossy finish, applying a primer can help the new paint adhere better and improve coverage.
Taking the time to prepare your walls properly will lead to a more professional-looking finish.
What Is the Step-by-Step Process to Paint Kitchen Walls Successfully?
The painting process can be broken down into several key steps to ensure a smooth application and a beautiful finish.
- Gather Your Materials: Ensure you have all your tools and materials ready before starting. This includes paint, brushes, rollers, trays, and drop cloths.
- Apply Primer: If necessary, apply a coat of primer to the walls and allow it to dry completely. This step is especially important for new drywall or when changing from a dark to a light color.
- Cut In: Using a brush, paint around the edges of the walls, including corners and near the ceiling. This technique is known as “cutting in” and helps create a clean line.
- Roll the Paint: After cutting in, use a roller to apply paint to the larger wall areas. Work in sections, rolling the paint on in a W pattern for even coverage.
- Apply Additional Coats: Depending on the color and type of paint, you may need to apply a second coat. Allow adequate drying time between coats.
Following these steps will help you achieve a professional-looking paint job in your kitchen.
How to Apply Primer and Paint for Durable Kitchen Wall Finishes?
Applying primer and paint correctly is essential for durability. Here are some techniques to consider:
- Use a Quality Primer: A good primer will help the paint adhere better and provide a uniform base. Apply it evenly with a roller and use a brush for edges.
- Even Coverage: When applying paint, ensure that you use even pressure on the roller to avoid streaks. Overlap each stroke slightly to maintain consistency.
- Drying Times: Allow the primer to dry completely before applying paint. Follow the manufacturer’s instructions for drying times, which typically range from 1 to 4 hours.
These techniques will ensure that your kitchen walls have a long-lasting and beautiful finish.
What Are the Recommended Drying Times and Techniques Between Coats?
Understanding drying times is crucial for a successful paint job. Here are some guidelines:
- Typical Drying Times: Most latex paints dry to the touch within 1-2 hours but may require up to 24 hours for full curing. Always check the paint can for specific recommendations.
- Factors Affecting Drying: Humidity and temperature can significantly impact drying times. Higher humidity can slow down the drying process, while warmer temperatures can speed it up.
- Techniques for Speeding Up Drying: To expedite drying, ensure good ventilation in the room. Using fans can help circulate air and reduce humidity levels.
Being aware of these factors will help you plan your painting project more effectively.
How to Paint Kitchen Cabinets: A Comprehensive Guide?
Painting kitchen cabinets can dramatically change the look of your kitchen. This process requires careful preparation and execution to achieve a professional finish.
What Preparation Is Required for Kitchen Cabinet Painting?
Preparation is critical when painting cabinets. Here are the steps to follow:
- Remove Hardware: Take off all cabinet doors, drawers, and hardware to make painting easier and to avoid overspray.
- Clean Surfaces: Use a degreaser to clean the surfaces thoroughly, removing any grease or grime that may have accumulated.
- Sand the Surfaces: Lightly sand the cabinet surfaces to create a rough texture for the paint to adhere to. Wipe down with a damp cloth to remove dust.
Proper preparation will ensure that the paint adheres well and provides a smooth finish.
Which Paint Types and Finishes Are Ideal for Cabinets?
Choosing the right paint for cabinets is essential for durability and aesthetics. Here are some recommendations:
- Acrylic Latex Paint: This type of paint is ideal for cabinets due to its durability and ease of cleaning. It also has low VOC levels, making it safer for indoor use.
- Semi-Gloss Finish: A semi-gloss finish is recommended for cabinets as it provides a durable surface that is easy to clean and resists moisture.
- Chalk Paint: For a more rustic or vintage look, chalk paint can be used. It requires a topcoat for durability but offers a unique finish.
Selecting the right paint and finish will enhance the beauty and longevity of your cabinets.
What Are the Best Kitchen Painting Tips and Tricks for Lasting Results?
To achieve lasting results in your kitchen painting project, consider these tips and tricks:
- Invest in Quality Tools: Using high-quality brushes and rollers can make a significant difference in the final outcome.
- Work in Good Lighting: Ensure you have adequate lighting while painting to spot any missed areas or imperfections.
- Be Patient: Allow each coat to dry completely before applying the next. Rushing can lead to mistakes and an uneven finish.
These tips will help you achieve a professional-looking paint job that lasts.
How to Avoid Common Painting Mistakes in Kitchens?
Avoiding common mistakes can save you time and frustration. Here are some pitfalls to watch out for:
- Skipping Preparation: Failing to properly clean and prepare surfaces can lead to poor adhesion and an uneven finish.
- Using the Wrong Paint: Not selecting the right type of paint for kitchen environments can result in peeling or fading.
- Neglecting Drying Times: Rushing the drying process can lead to smudges and an uneven finish.
By being aware of these common mistakes, you can ensure a smoother painting process.
What Safety and Cleanup Practices Should Be Followed After Painting?
Safety and cleanup are essential after completing your painting project. Here are some practices to follow:
- Ventilation: Ensure the area is well-ventilated while painting and during the drying process to avoid inhaling fumes.
- Protective Gear: Wear gloves and a mask to protect yourself from paint fumes and skin contact.
- Cleanup: Clean brushes and rollers immediately after use with soap and water if using latex paint. Dispose of any used materials according to local regulations.
Following these safety and cleanup practices will help maintain a safe and healthy environment during and after your painting project.


