
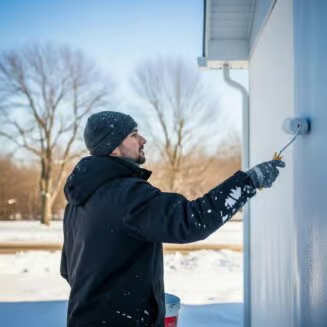
Exterior Painting in Cold Weather: What You Need to Know
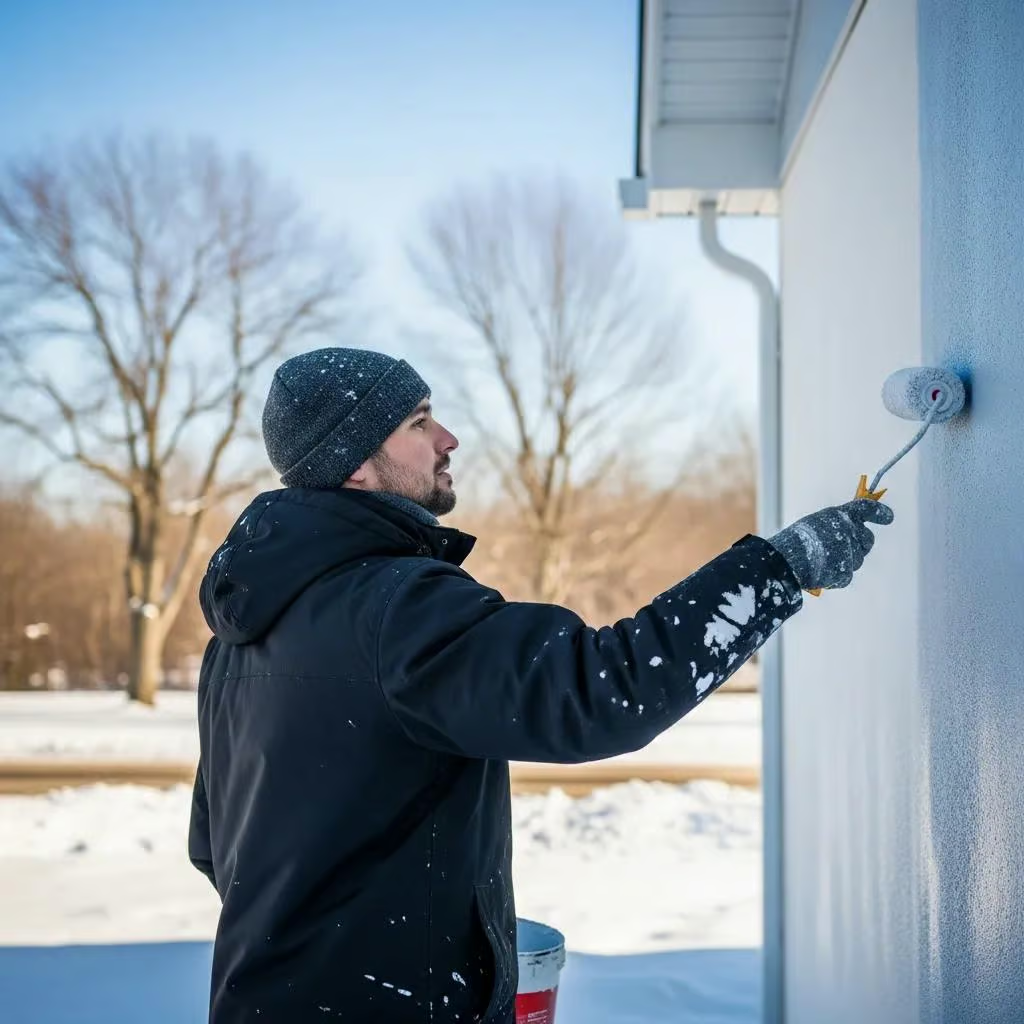
Expert Tips for Successful Exterior Painting in Cold Weather
Painting the exterior of a home during cold weather presents unique challenges that can affect the quality and longevity of the paint job. Homeowners and property managers must understand the implications of low temperatures on paint adhesion, drying times, and overall application techniques. This article provides essential guidance on how to successfully navigate exterior painting in cold weather, ensuring that your project is completed effectively and efficiently. We will explore the key challenges, preparation steps, suitable paint types, application techniques, drying times, and maintenance practices that can help extend the life of your winter paint job. By following these tips, you can achieve a durable and aesthetically pleasing finish even in less-than-ideal conditions.
What Are the Key Challenges of Exterior Painting in Cold Weather?
Cold weather poses several challenges for exterior painting, primarily due to the impact of low temperatures on paint adhesion and drying. When temperatures drop, the chemical reactions that allow paint to cure and adhere to surfaces can be significantly slowed down. This can lead to issues such as peeling, cracking, and uneven finishes. Additionally, humidity and moisture can exacerbate these problems, making it crucial to understand the specific conditions that affect painting in winter.
Baker Roofing Company specializes in providing expert guidance and services for homeowners facing these challenges. With a focus on roofing installation, repair, and maintenance, they can assist in ensuring that your home is well-prepared for any painting project, even in cold weather.
How Does Cold Weather Affect Paint Adhesion and Drying?
Cold weather affects paint adhesion and drying primarily through temperature and humidity levels. Most paints require a minimum temperature to cure properly, typically around 50°F (10°C). Below this threshold, the paint may not adhere well to the surface, leading to premature failure. Additionally, high humidity can prevent paint from drying effectively, resulting in a tacky surface that attracts dirt and debris.
Research further emphasizes how these environmental factors contribute to paint degradation, specifically noting the impact of low temperatures on paint’s physical properties.
Cold Weather Paint Cracking & Stiffness: Low Temperature Effects
Short times (such as shock and vibration), low temperature, low humidity, high pigmentation, and aging increase both the stiffness and the likelihood of cracking of these layers, and the unifying concept is the glassy/rubbery transition. The stiffness data on oil paints, glue, acrylics, and resins is charted in terms of this transition. Low temperature and low humidity also shrink materials, and this data is summarized.
Paintings, their response to temperature, relative humidity, shock and vibration, 1991
Understanding these factors is essential for successful winter painting. Homeowners should monitor local weather conditions and choose days when temperatures are expected to rise above the minimum threshold for optimal results.
What Temperature and Weather Conditions Are Suitable for Painting?
For successful exterior painting in cold weather, it is essential to identify suitable temperature and weather conditions. Ideally, temperatures should be between 50°F (10°C) and 85°F (29°C) for most paints. Additionally, it is crucial to avoid painting during periods of high humidity or when rain is expected, as these conditions can hinder the drying process.
Wind can also play a significant role; strong winds can lower the effective temperature and increase the risk of paint drying too quickly, leading to poor adhesion. Homeowners should aim for calm, dry days with moderate temperatures to ensure the best results.
How to Prepare Exterior Surfaces for Painting During Winter?
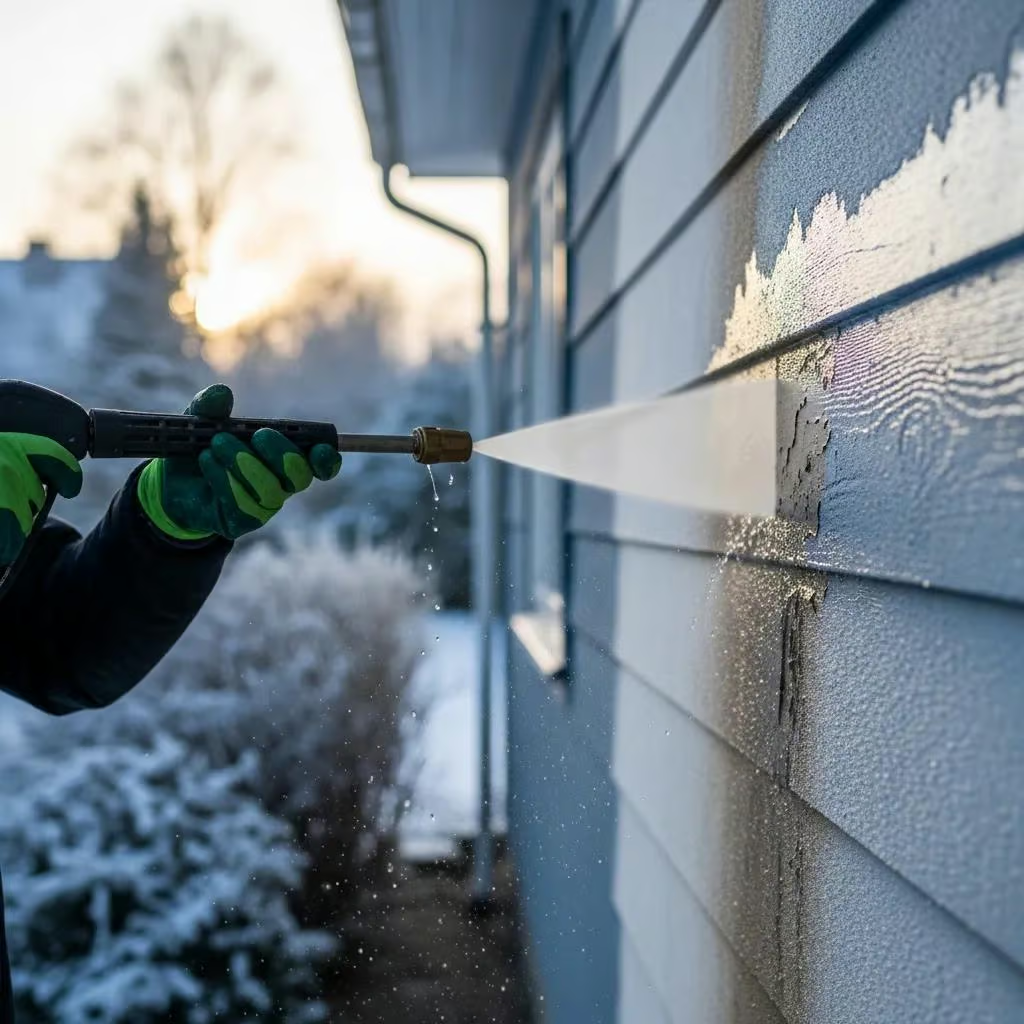
Proper surface preparation is critical for ensuring paint durability in cold weather. This involves cleaning, repairing, and priming surfaces to create an ideal foundation for paint application. Neglecting these steps can lead to poor adhesion and a shorter lifespan for the paint job.
What Surface Preparation Steps Ensure Paint Durability in Cold Weather?
To ensure paint durability in cold weather, homeowners should follow these essential surface preparation steps:
- Clean the Surface: Remove dirt, mildew, and loose paint using a pressure washer or scrub brush. This ensures that the new paint adheres properly.
- Repair Damages: Fill in cracks and holes with appropriate fillers, and sand down rough areas to create a smooth surface.
- Prime if Necessary: Use a high-quality primer designed for cold weather to enhance adhesion and provide a uniform base for the paint.
These steps are vital for achieving a long-lasting finish, especially when painting in less-than-ideal conditions.
How to Repair and Clean Surfaces Before Winter Painting?
Cleaning and repairing surfaces before winter painting involves several key techniques:
- Use a Pressure Washer: This effectively removes dirt and mildew, ensuring a clean surface for painting.
- Inspect for Damage: Look for any signs of rot or damage that may need repair before painting.
- Choose the Right Tools: Use brushes and rollers that are suitable for the type of paint being applied, as well as for the specific surface material.
By taking the time to properly prepare surfaces, homeowners can significantly improve the outcome of their winter painting projects.
Which Paint Types Are Best Suited for Cold Weather Exterior Painting?
Selecting the right paint type is crucial for successful exterior painting in cold weather. Certain paints are formulated specifically to perform well in lower temperatures, providing better adhesion and drying times.
What Are the Benefits of Low-VOC and Cold-Weather Paints?
Low-VOC (volatile organic compounds) and cold-weather paints offer several advantages:
- Improved Adhesion: These paints are designed to adhere better in cooler temperatures, reducing the risk of peeling and cracking.
- Faster Drying Times: Cold-weather paints often have formulations that allow them to dry more quickly, even in lower temperatures.
- Environmental Benefits: Low-VOC paints are less harmful to the environment and improve indoor air quality, making them a safer choice for homeowners.
Choosing the right paint can make a significant difference in the success of a winter painting project.
How to Compare Paints Based on Temperature Range and Drying Time?
This comparison highlights the importance of selecting paints that are specifically designed for cold weather to ensure optimal performance.
What Are the Best Application Techniques for Painting in Cold Weather?
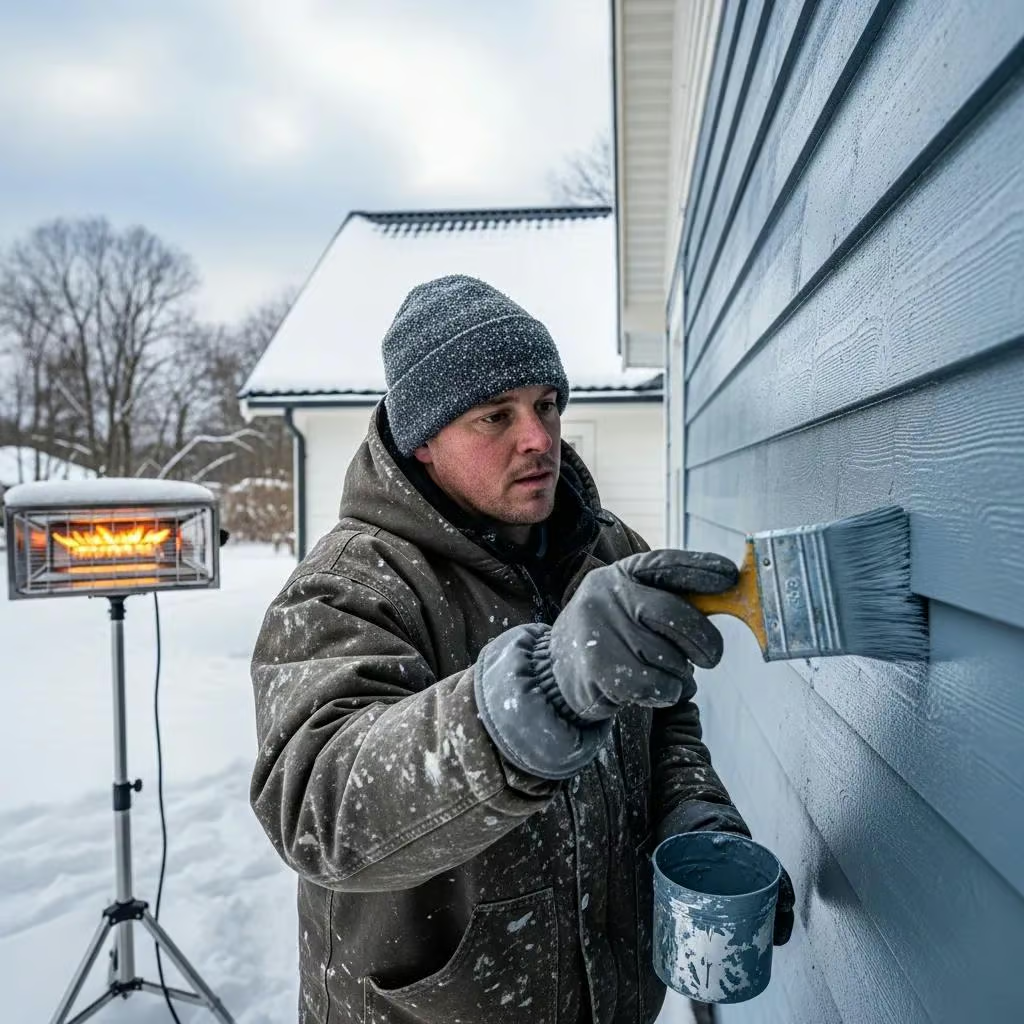
Applying paint in cold weather requires specific techniques to ensure a successful outcome. Understanding how to adapt your application methods can lead to better results and a more durable finish.
How to Apply Paint Effectively When Temperatures Are Low?
To apply paint effectively in low temperatures, consider these techniques:
- Use a Heater: If possible, warm the area to be painted to help the paint adhere better.
- Thin the Paint: Thinning the paint slightly can help it flow better and adhere more effectively in cold conditions.
- Work in Sections: Focus on smaller areas at a time to ensure that the paint does not dry too quickly before you can finish the application.
These techniques can help mitigate the challenges posed by cold weather during the painting process.
What Tools and Methods Improve Paint Adhesion and Finish?
Using the right tools and methods can significantly enhance paint adhesion and finish quality:
- Quality Brushes and Rollers: Invest in high-quality applicators that are designed for the type of paint being used.
- Proper Mixing: Ensure that the paint is well-mixed before application to achieve a consistent finish.
- Temperature Monitoring: Use a thermometer to monitor the temperature of the surface being painted, ensuring it is within the recommended range.
By employing these tools and methods, homeowners can achieve a professional-looking finish even in challenging conditions.
How Long Does Exterior Paint Take to Dry and Cure in Cold Weather?
Understanding drying and curing times is essential for planning a successful painting project in cold weather. These times can vary significantly based on temperature, humidity, and the type of paint used.
What Factors Influence Paint Drying and Curing Times in Winter?
Several factors influence drying and curing times for paint in winter:
- Temperature: Lower temperatures can slow down the drying process, while warmer conditions can speed it up.
- Humidity: High humidity levels can extend drying times, as moisture in the air can prevent paint from curing properly.
- Paint Type: Different paints have varying drying times; cold-weather paints typically dry faster than standard exterior paints.
Being aware of these factors can help homeowners plan their painting projects more effectively.
How to Monitor and Ensure Proper Paint Curing During Cold Conditions?
To ensure proper paint curing in cold conditions, homeowners should:
- Check Weather Conditions: Monitor temperature and humidity levels regularly to ensure they are within the optimal range for drying.
- Use a Fan: If indoors, using a fan can help circulate air and promote faster drying.
- Avoid Moisture: Keep painted surfaces dry and free from moisture until the paint has fully cured.
These practices can help ensure that the paint adheres properly and lasts longer.
What Maintenance Practices Extend the Life of Winter Exterior Paint?
Maintaining painted surfaces is crucial for extending the life of winter exterior paint. Regular inspections and touch-ups can prevent minor issues from becoming major problems.
How to Protect Painted Surfaces from Harsh Winter Weather?
To protect painted surfaces from harsh winter weather, consider these strategies:
- Seal Gaps and Cracks: Use caulk or sealant to fill in any gaps that could allow moisture to penetrate.
- Regular Inspections: Schedule inspections to check for signs of wear or damage, especially after severe weather.
- Touch-Up as Needed: Address any chips or scratches promptly to prevent further deterioration.
Implementing these maintenance practices can significantly enhance the longevity of your winter paint job.
When Should You Schedule Inspections and Touch-Ups After Winter Painting?
After completing a winter painting project, homeowners should schedule inspections and touch-ups at the following intervals:
- 1 Month Post-Painting: Check for any signs of peeling or damage.
- Every 3 Months: Conduct regular inspections to ensure the paint remains intact.
- Before Seasonal Changes: Inspect surfaces before the onset of spring or fall to address any potential issues.
By adhering to this schedule, homeowners can maintain the integrity of their painted surfaces and ensure a long-lasting finish.


